
Wow… it’s been a long time since I posted anything on my blog. My WordPress dashboard looks completely different.
What is 2-Step Verification?
For the longest time, I’ve been wanting to enable 2-factor authentication on my Google accounts. Google calls it 2-step verification, but it means the same thing. For those who don’t know what 2-factor auth is, it basically means besides knowing your password, you’ll also need a secondary credential. Banks like to ask you some security questions when you log on from a new computer. Google’s 2-step verification calls you or sends you a text message with a 6-digit code that you’ll also need to enter before logging in from a new computer.
You can also install Google Authenticator onto a supported device, which will generate the similar 6-digit code, but w/o having Google to call or text you.
Why the switch?
I’m already using super long randomly generated passwords for any online account that I have, but I’ve been meaning enable 2-factor auth for some time. When you think about all your accounts on the internet, there’s usually some way to reset your password via your email. When someone compromises your email, they’ve basically compromised everything you have online, your online identity.
Recently someone was blackmailed into giving up their @N Twitter account. 2-factor auth wouldn’t have helped in this case, since this was done via social engineering, but it reminded me of all the other account compromising news I’ve read over the year.
Things to keep in mind
Enabling 2-step verification will inconvenience you, probably a lot if you have many devices and services that you use to log in with your Google account.
- Every time you log into Google from a machine you haven’t before, you’ll be prompted with a 2nd screen to enter a 6-digit security code generated at that time.
- Every machine/service you’re currently logged into will require you to log back in. That includes mail on your phone, mail on your desktop, messaging services, etc.
- Certain apps won’t support 2-step verification. In those cases, you’ll have log into Google from browser and generate app-specific password for it.
If you’re willing to put yourself through all this, then continue reading.
Here’s how you do it
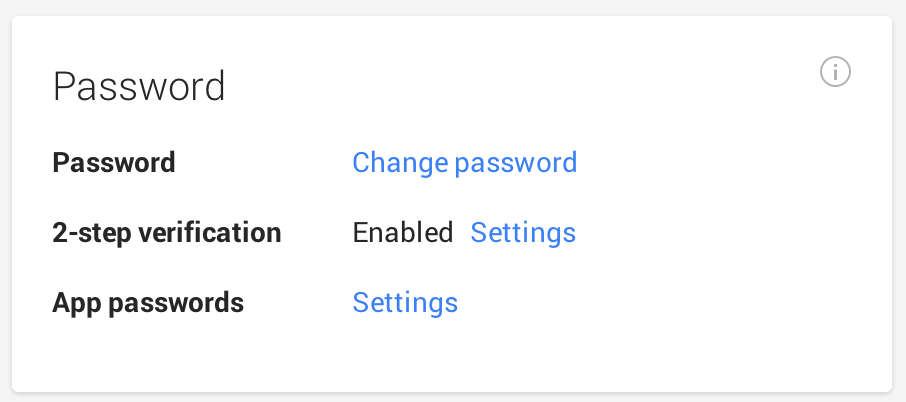
Log into accounts.google.com and click on the Security tab. On the left hand side, you should see 2-step verification which should show Disabled. Go ahead and click to enable it.
Go through the setup process, where they’ll basically ask you to confirm your phone number. 2-step authentication is now enabled, but you’re far from done.
I don’t see 2-step verification
If your Google account is from a Google Apps for Business/Education/Hosted Domain, you’ll need to speak with your admin on enabling 2-step verification. I had a trouble following their instructions initially, but it turns out the security icon is hidden inside More Controls, which is hidden at the bottom of your browser if you’re not paying attention.
Once you’ve located the Security option, enabling 2-step verification is pretty straight forward.
Now as the user, you can follow the steps above to enable 2-step verification for your account.
Now what?
I highly recommend downloading Google Authenticator and using that instead of having Google call/text you the 6-digit code every time, especially if you’re stuck in a place with no cell reception (the horror!). Once you have the app installed, go ahead and set it up by following the instructions on the Verification Codes tab of your 2-Step Verification dashboard.
I would also recommend downloading/printing your backup codes in case you lose your phone or no longer have access to it. I have mine encrypted on my machine so I have easy access to it.
Now that you’ve enabled 2-step verification, your mail app has probably complained that your login credentials have been rejected. If it hasn’t yet, it will soon. You’ll need to now go generate app-specific passwords by clicking on that tab.
When generating an app-specific password, Google recommends providing a specific name (e.g. Gmail on iPhone) so you can easily remember which one to revoke in case your device gets stolen. Once generated, go to the app and update the password and things should start working again.